After a quick demolition of the interior walls, we were feeling good about our design plan. The space felt big and open finally. The next steps were ceiling and floors.

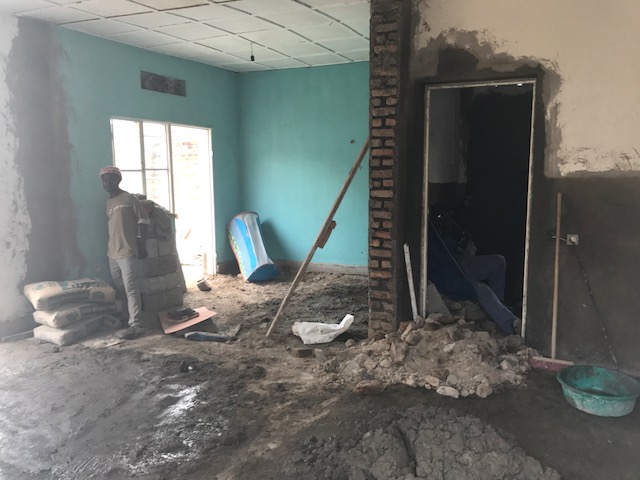
We decided to keep the ceiling that was in the original main room, and extend it back through the kitchen.

It's not the best quality, and the ceiling is a little wavy. But it is better for sure.

Then the next move they wanted to do was choose floor tiles! (While this is very fun and exciting for me, I do wish that flooring would happen in the end like in the US so that the tiles don't get scratched and chipped and painted on throughout the renovation. I am still being reassured that in the end, it will all be fixed. We'll see...)

In a sea of bad tile repeated one store at a time, the challenge was that much more exciting to find the diamond in the rough...

And there she is. The BEST tile ever. Faux wood ceramic tile. Love. Wait 'til you see them laid on the floor. You're about to die. Just keep reading.

Back home, the archway was being worked on by an overly confident non-specialist at making archways. I saw this rebar going in, and explained how it's not symmetrical, yet he reassured me that it would be fixed by cement in the end... 😐

Nope.
Unfortunately during this renovation I did have to return home to Rubengera at some points while work carried on, so I couldn't supervise everything. In future renovations however, it is necessary to be present pretty constantly no matter how much of a nag I probably come off as. 😜

Another outing was choosing the color of our kitchen cabinetry that was going to be built. We chose...

Dark Grey! Just picture it with brass handles and those floor tiles. 😍

While we were gone back home they tore up the old floor tile getting ready for these new beauties! :) Also- check out the half wall we built to separate the kitchen.
And now... The moment we've all been waiting for... The new tiles!!!

This is the pattern I laid out to show the installers how we wanted to do them in herringbone.

The floors were cemented out and leveled first.

Then I helped to re-line them up in the actual space, making sure the arrow of the herringbone lined up straight, and the team took off from there! The most talented installers we worked with by far. They were so good! And from renovations in the US I can vouch that this is hard work. My contractors there never wanted to lay tiles in herringbone. It is much more difficult with a lot of math, and cuts. But these guys did such a good job. Watch and see!


Here it is!!!!!

Whatttttt?!?!!? And with the ceiling painted!???!!....

She's working on the exposed brick wall and column we had built with the extra bricks from the demo. So goooooood...

Another use for those extra bricks!


And the back house gets some exposed brick love too...
My oh my what a quick transformation in the Main House! From the top to the bottom, the space has been lightened so much. Next move will be the walls and kitchen cabinetry!


Thanks for reading along!
Love,
Teri
Comments
Post a Comment
Please comment here!!!